My Big Fat Bathroom Makeover
So as is my way I get a wild hair and I decide that today is the day we start to remodel the bathroom. My poor poor husband...
I looked into everything it would take to just give it a good overhaul. I mean we had already updated it quite a bit but it just felt lacking. We had a perfectly sized piece of butcher block left over from the kitchen remodel (that's still not done....) so I thought YES we're getting this done and checked off!
My Plan:
New counter top with undermount sink
new bronze faucet (not painted myself)
backsplash tile
vinyl tile the floor
baseboards and door casings
So we went ahead and bought a new sink, faucet, door casing set, baseboards, shoe molding and vinyl tiles. We had EVERYTHING else left over from other projects lol. Yep. We're that awesome!
I started out by painting the cabinet with Annie Sloan chalk paint in duck egg. It's a great color! I also test fitted the floor.I wanted an herringbone pattern for a little more wow factor. This picture has the tile already up and counter on lol. I'm awesome at pictures..
Heres the flooring I used. I got it at lowes and it was 1.08 sq ft at my local store. I took each tile and cut it in 3 pieces with a razor knife.
This was probably the most important part. MAKE SURE EVERYTHING IS SQUARE!!!!! Seriously though. I'm a total free spirit so precision is really not my forte but it will look so ridiculous if your triangles are curved.. TRUST ME! I used 1/8 in spacers for this too. That's a huge help in keeping everything square.
It went down really fast.. Just took a good deal of patience!
Jordan cut the sink hole out per the template provided. We bought a rectangle undermount sink that was interesting to install. The first one we installed was cracked and I didn't notice until I went to do the final clean up on it so we had to rip it off and exchange it. Yay.
We didn't like the chippy oak side panel so we slapped a left over piece of beadboard from our paneled entry ceiling (that post is coming!) on there and BAM instant upgrade! lol. We used 5.5 inch MDF as the trim around the bottom and we achieved this by screwing 4 pieced of 2x4 to the toe kick to give us something to nail the mdf to. Worked out well...
I really think it looks nice and custom. Like we bought it and just set it there! My handy little helper there was trying to eat the cotton balls ;)
Counter top on and waiting on faucet placement! Our sink ended up being really big so we had to put the faucet closer to the wall than was desirable but what can ya do?
I had to fill some holes and I (a big ole idiot) filled them with LIGHT colored wood filler.. Ugh.. It's barely noticeable until you throw some tung oil on there and HOLY WOW IS IT NOTICEABLE!! I sanded it back down as much as I could and it's barely there now..
My main man installing the faucet. We used a spade bit to drill the holes.
There she is. All gorgeous and stuff.. Awww..
So there you have it.. Minus 1 drawer that someone (shh me) stripped a screw on...
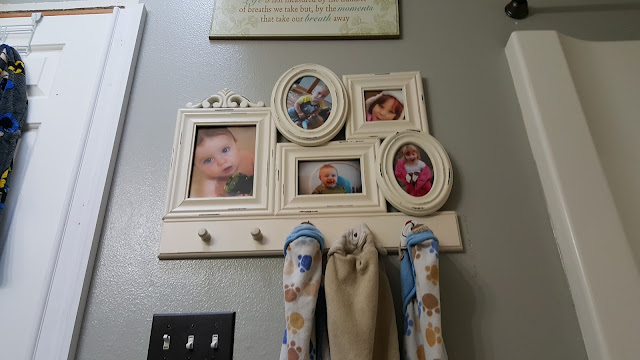
Now to decorate!
My daughter actually took this photo :) :)
I got all of these letters in the clearance section at Michael's whooo hooo!
My shelves needed a bit of love too..
You guys ready for some before?
This is what it looked like when we bought it... Oh boy...


I love it! Did you grout the vinyl tile?
ReplyDeleteLooks Great! what did you use to fill the 1/8th inch gap in the 'tiles'?
ReplyDeleteThanks for sharing this nice information for me. I hope you will share some more information. please keep sharing!
ReplyDeleteأرضيات الفينيل